The process of acquiring your first British passport while overseas can at first seem quite daunting. Having gone through the process from start to finish, I’m here to offer some tips and links to help you. (Please note: this guide applies only for British citizenship, not naturalization for British citizenship.)
Let’s start with a quick bio. I was born in the United States to a British father and American mother. About ten months ago, I decided I needed a change of pace. Having nothing to tie me down here in the US, I made an offhand comment to my dad about moving to Scotland. My dad reminded me that, through him, I am a dual citizen of both the United States and the United Kingdom. I had no idea where to start. I figured there was some way to simply ask, “Am I actually a British citizen?” I quickly found out that there is not. The only way to know if you are considered a British citizen is to apply for a UK passport. Unfortunately, the UK government only offers this rudimentary quiz to help you determine if it’s worth it to apply: https://www.gov.uk/check-british-citizen.
The United Kingdom recognizes dual citizenship under certain circumstances to children of UK citizens. There are two types of full British citizenship:
– citizenship by descent (you were born in the UK and one or both parents are British citizens)
– citizenship not otherwise by descent (one or both of your parents are British citizens, but you were born elsewhere)
So, I started researching. I scoured the UK government website, read every account I could find (quick tip: there are very few accounts that are helpful), and got started. Luckily for you, dear reader, all the legwork has been done for you! While this guide is by no means comprehensive, and some personal tailoring will have to be done, I hope this helps relieve some of the pressure and stress.
Use the following link as your official guide: https://www.gov.uk/government/uploads/system/uploads/attachment_data/file/564944/OS_OL_Guidance_Notes_10.16.pdf
Now, some handy tips:
Do not call your closest consular office. They will not help you, and they cannot answer passport application questions. They will direct you to the HRM Passport Office. Do not email the HRM Passport Office. They will not help you. They will most likely direct you to your local consular office. See the problem here? There are certain contacts in the HRM Passport Office that will email you back, but your best bet is to follow the steps I’ve written down. Or, feel free to email me. Through all the research and muddling through, I have collected a ton of notes and random answers to random questions. And I will respond!
Now, for the really important stuff:
1) Gather all your documents. As a dual citizen with citizenship through my father, I had to provide more documentation than other people. I had to provide the following, all original documents or certified copies (all of which were returned to me after the process was complete):
– My birth certificate
– My father’s birth certificate (I had to apply for copies of this from the UK government, and you can do so here, for £9.25 per copy: https://www.gov.uk/order-copy-birth-death-marriage-certificate. The process is very simple and quick)
– My parents’ marriage certificate (If you were born between 1983 and 2006 and you were not born in the UK, and citizenship is through your father, you need to provide proof that your parents were married at the time of your birth)
– A color copy of my counter signatory’s passport photo/information page
You can find the UK government’s full list of document requirements here: https://www.gov.uk/apply-first-adult-passport
2) Find your counter signatory (see page 10 of the guide for full information). This person is much like a notary here in the United States, but they have to be personally acquainted with you. They cannot be a relative or in a personal relationship with you, and they must be a “professional person,” meaning a person with what I call a “big boy/girl job”—banking, civil servant, lawyer, doctor/nurse, etc. For example, my counter signatory works in banking. Your counter signatory must also hold a valid passport. You can find more counter signatory information here, as well: https://www.gov.uk/countersigning-passport-applications
3) Get your pictures taken. This part may seem easy, but it’s tricky. The size of UK passport photos is 35 mm x 45 mm, while US passport photos are 2 in x 2 in. These photos must also be taken with a beige or grey background, and your face must fill a specified percentage of the photo. Photos cannot be cut from larger photos, and nothing can be digitally altered. Because there are so many specifications, many places will not take them (and most Walgreens, CVS, etc., have settings, but I do not recommend using them, because the quality is too poor). So, do your research and find a trusted place near you to take your photos. If you live on either of the coasts, you have the advantage, because many places will specialize in all sorts of overseas passport photos. I had to do a lot of research and digging, because there is not a high need in Missouri for overseas passport photos. I do not recommend using any online services—they are unnecessarily expensive and do not deliver a quality product. You will need two identical photos, and your counter signatory will need a declaration (which can be found in your application packet) on the back of the photo, as well as sign and date it.
Finally, apply. The application is online, and can be found here: https://www.gov.uk/apply-renew-passport.
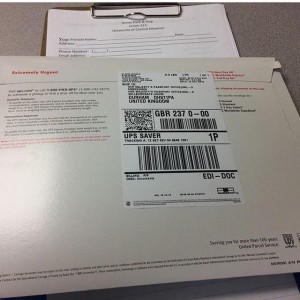
You will need to pay at the time of submission, so be ready with your credit card. If I remember correctly, the cost converted to about $170, and be prepared to spend a pretty penny sending your entire application. I sent mine via UPS so that I could get a tracking number and follow its progress overseas, and that provided me with a high level of comfort (plus, I was super excited and wanted to know when it had been delivered to the office!). Once you have submitted your application, print it out and double/triple/quadruple check that you have everything listed in the application requirements. The website provides you with login information after submission so that you can track your application progress. Once it has been received, this website will be updated periodically so you know what’s going on.
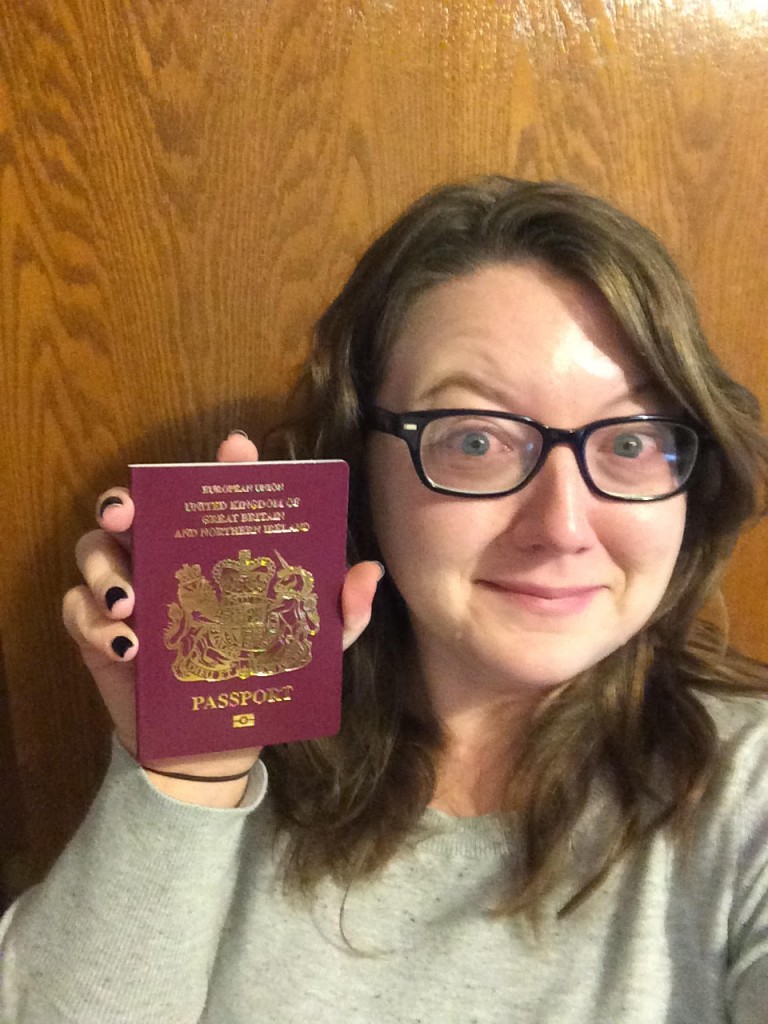
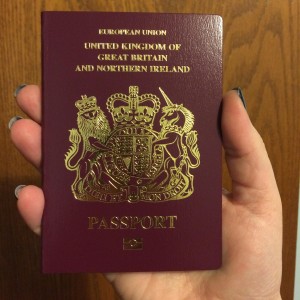
Once you’re done, you will receive a beautiful little red book with a golden unicorn on it, so it’s totally worth it.
Good luck!
Claire Wisker is a late twenty-something who is in the process of moving from the Kansas City, Missouri, area to Glasgow, Scotland in August of 2016. She currently works in the craft beer industry and intends to continue that work in some capacity, as well as complete her master’s degree in public history.


